“I’m fixing a hole where the rain gets in….”
-The Beatles
Discovered a roof leak in our travel trailer and set out to fix her. Here is the story of how we saved The Nomad from a premature watery (and dry-rot) death. First, let’s look at how we fixed the bathroom. Then, we’ll look at how we stopped the leak and made sure it would never happen again.

The Nomad is a 2012 21-foot self-contained travel trailer. We purchased it used and hadn’t had any real problems with it except for a broken leaf spring that caused the axle to slide back and jam up against the wheel well (subject of another blog post….).

Alas, one day I discovered suspiciously wet insulation when inspecting one of the forward marker lights. What do you do when you discover this? Why, you completely ignore it so it goes away, that’s what you do!
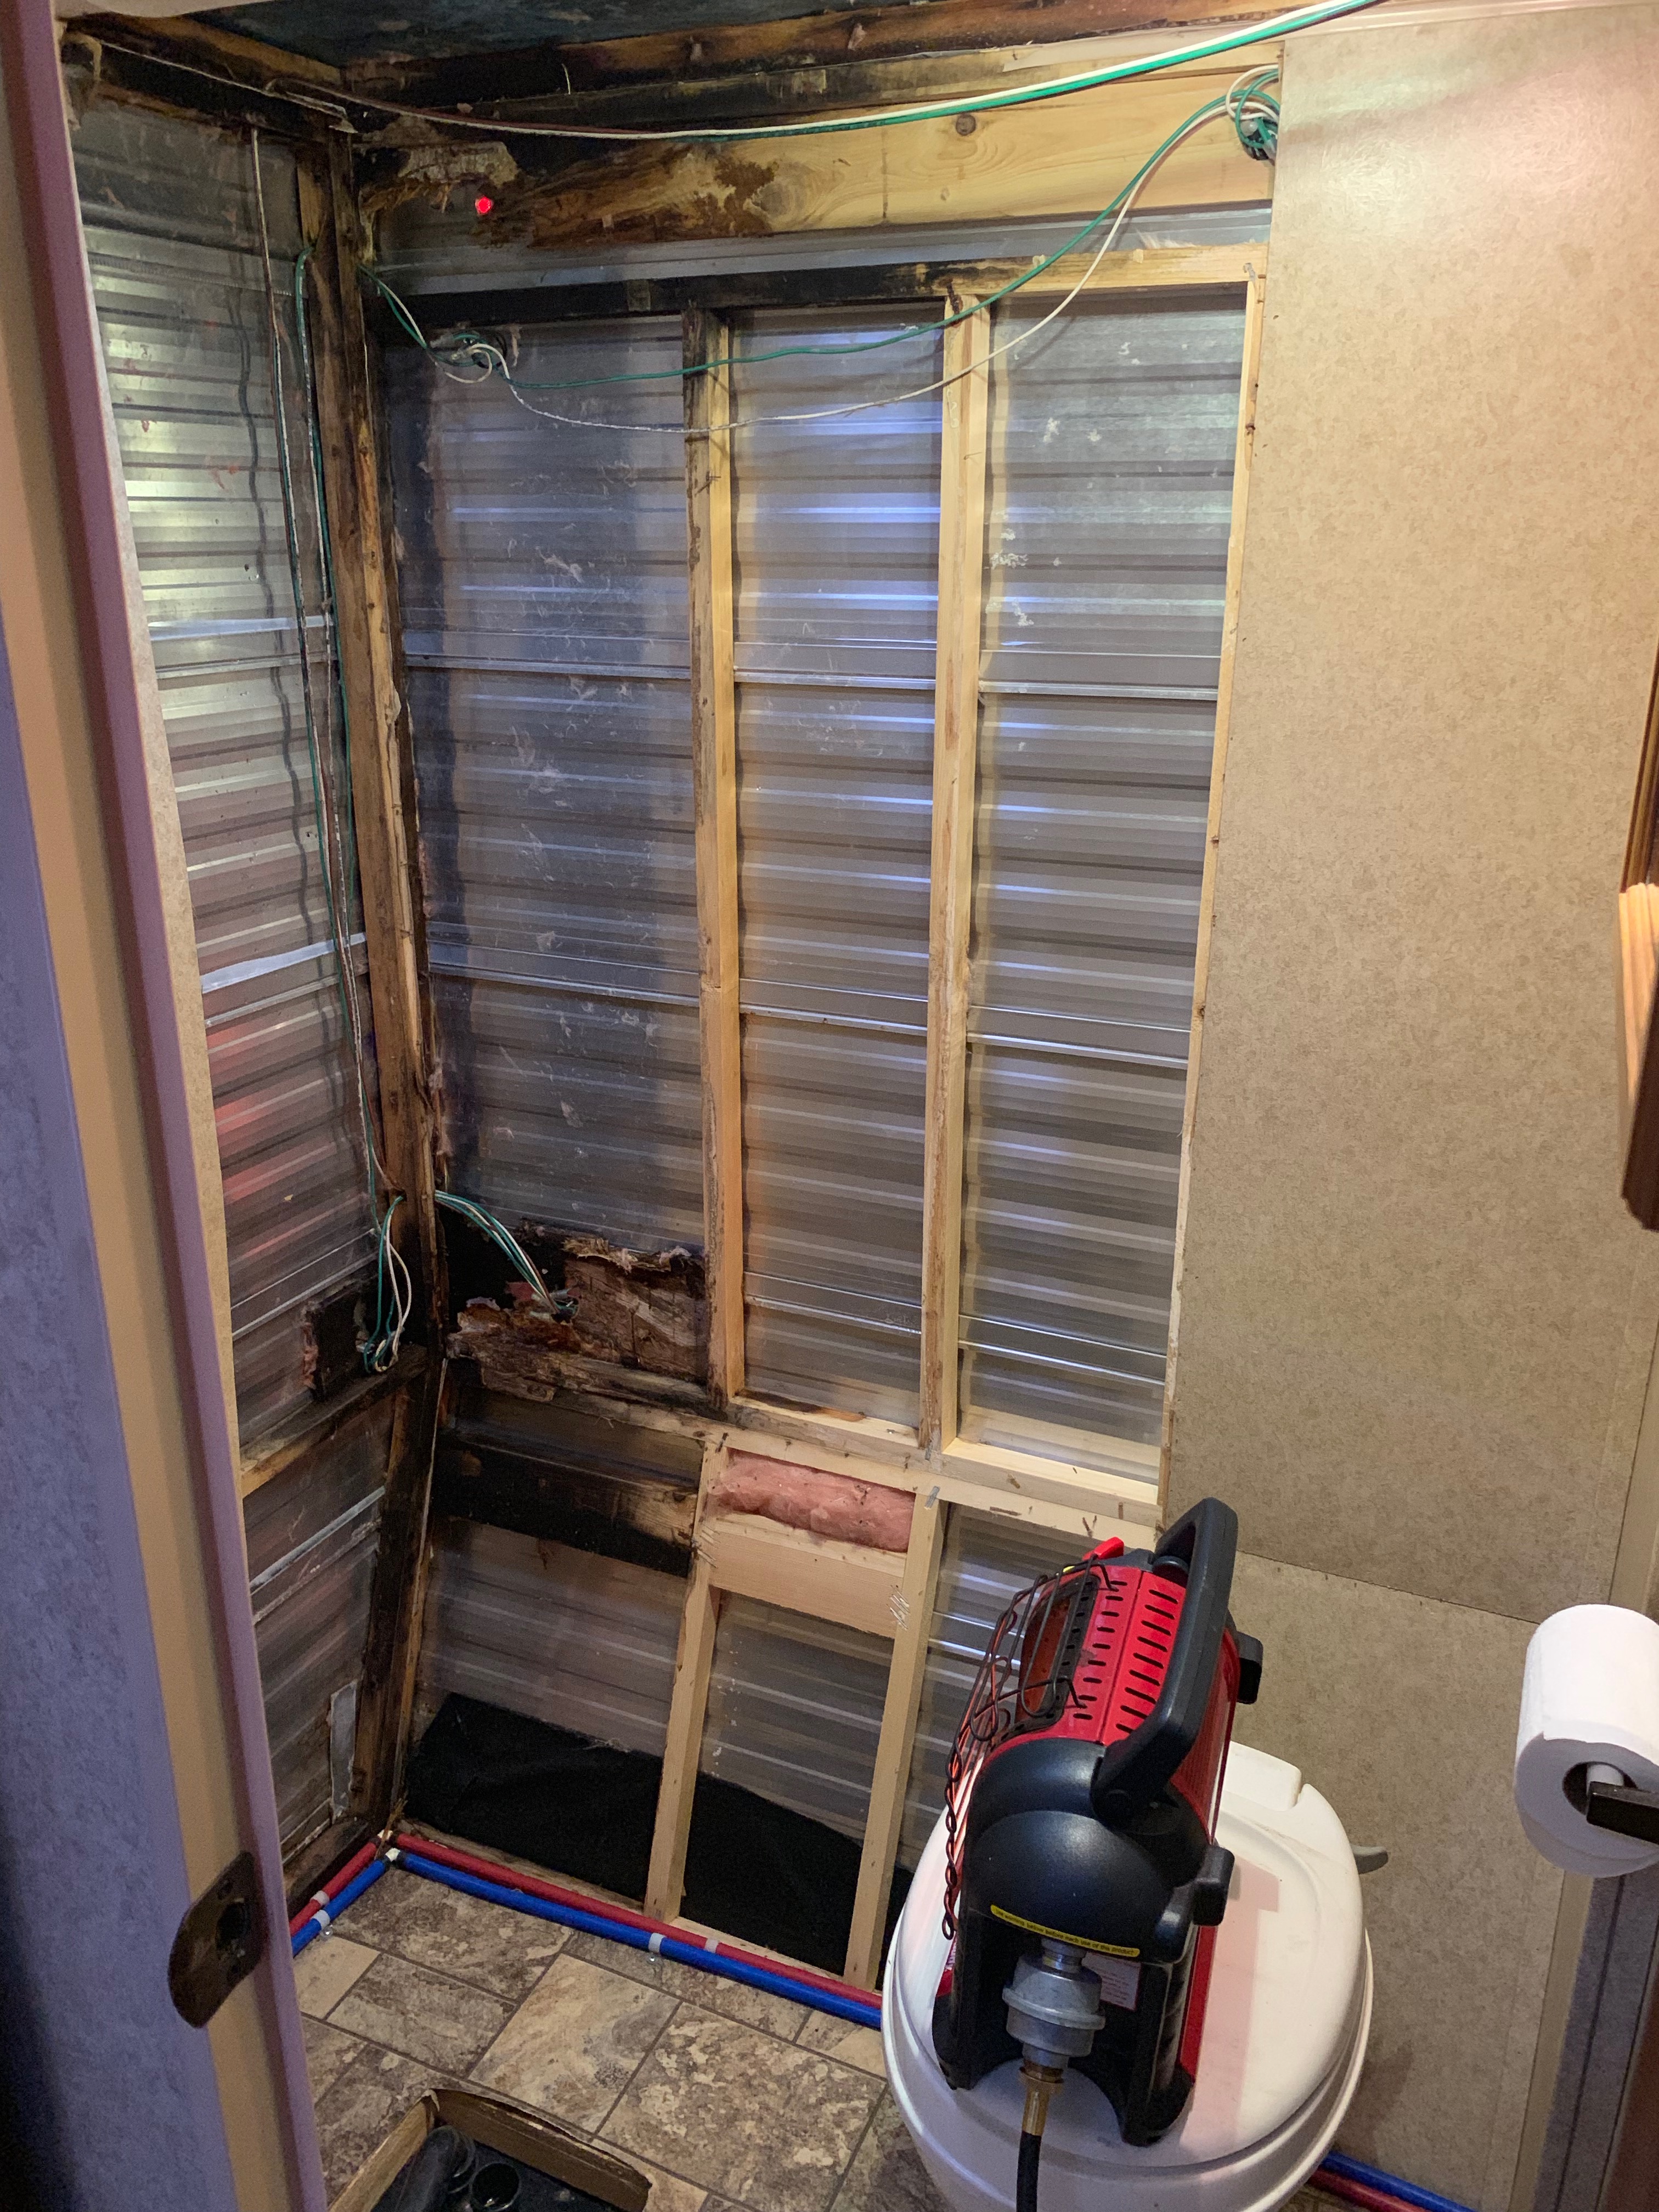
You know what happens next. Several years later the water damage was noticeable so I demolished the bathroom walls to pinpoint the leak and survey the damage.
Bad news at the top and bottom. The leak was clearly at the top rear roof joint and the water collected on the bottom blocking.

After removing the Lauan walls and pulling the insulation (which was soaked) the extent of the water damage and subsequent dry rot became obvious. I installed a portable propane Mr. Heater Buddy hooked into a 20 lb. tank and kept it running for days to dry out the rig.

The wiring was carefully removed and labeled to ease re-connection. Instead of de-threading the wiring harnesses I cut the main one carefully knowing it’s easier to splice a few wires back together than to re-fish a collection.

Wood that was totally destroyed, mainly the taillight and side marker backing pieces was removed. Elbow grease and some Pine-Sol helped get the problem areas as clean as possible for inspection and to stop mold and mildew.
Of course the early January 2019 rains really kicked in so it became necessary to carefully tarp the top of the rig to stop the water during repairs. Five-gallon water bags and paracord was useful in holding down the tarp.

After protecting the trailer from rain and thoroughly cleaning the bathroom it was time to apply Smith’s Clear Penetrating Epoxy Sealer. Figured this stuff must be a premium product because it cost $80 for one quart. That’s more than really good brandy! I found it by visiting my local lumber store (not Home Depot) and by asking them what they recommend for dry rot.
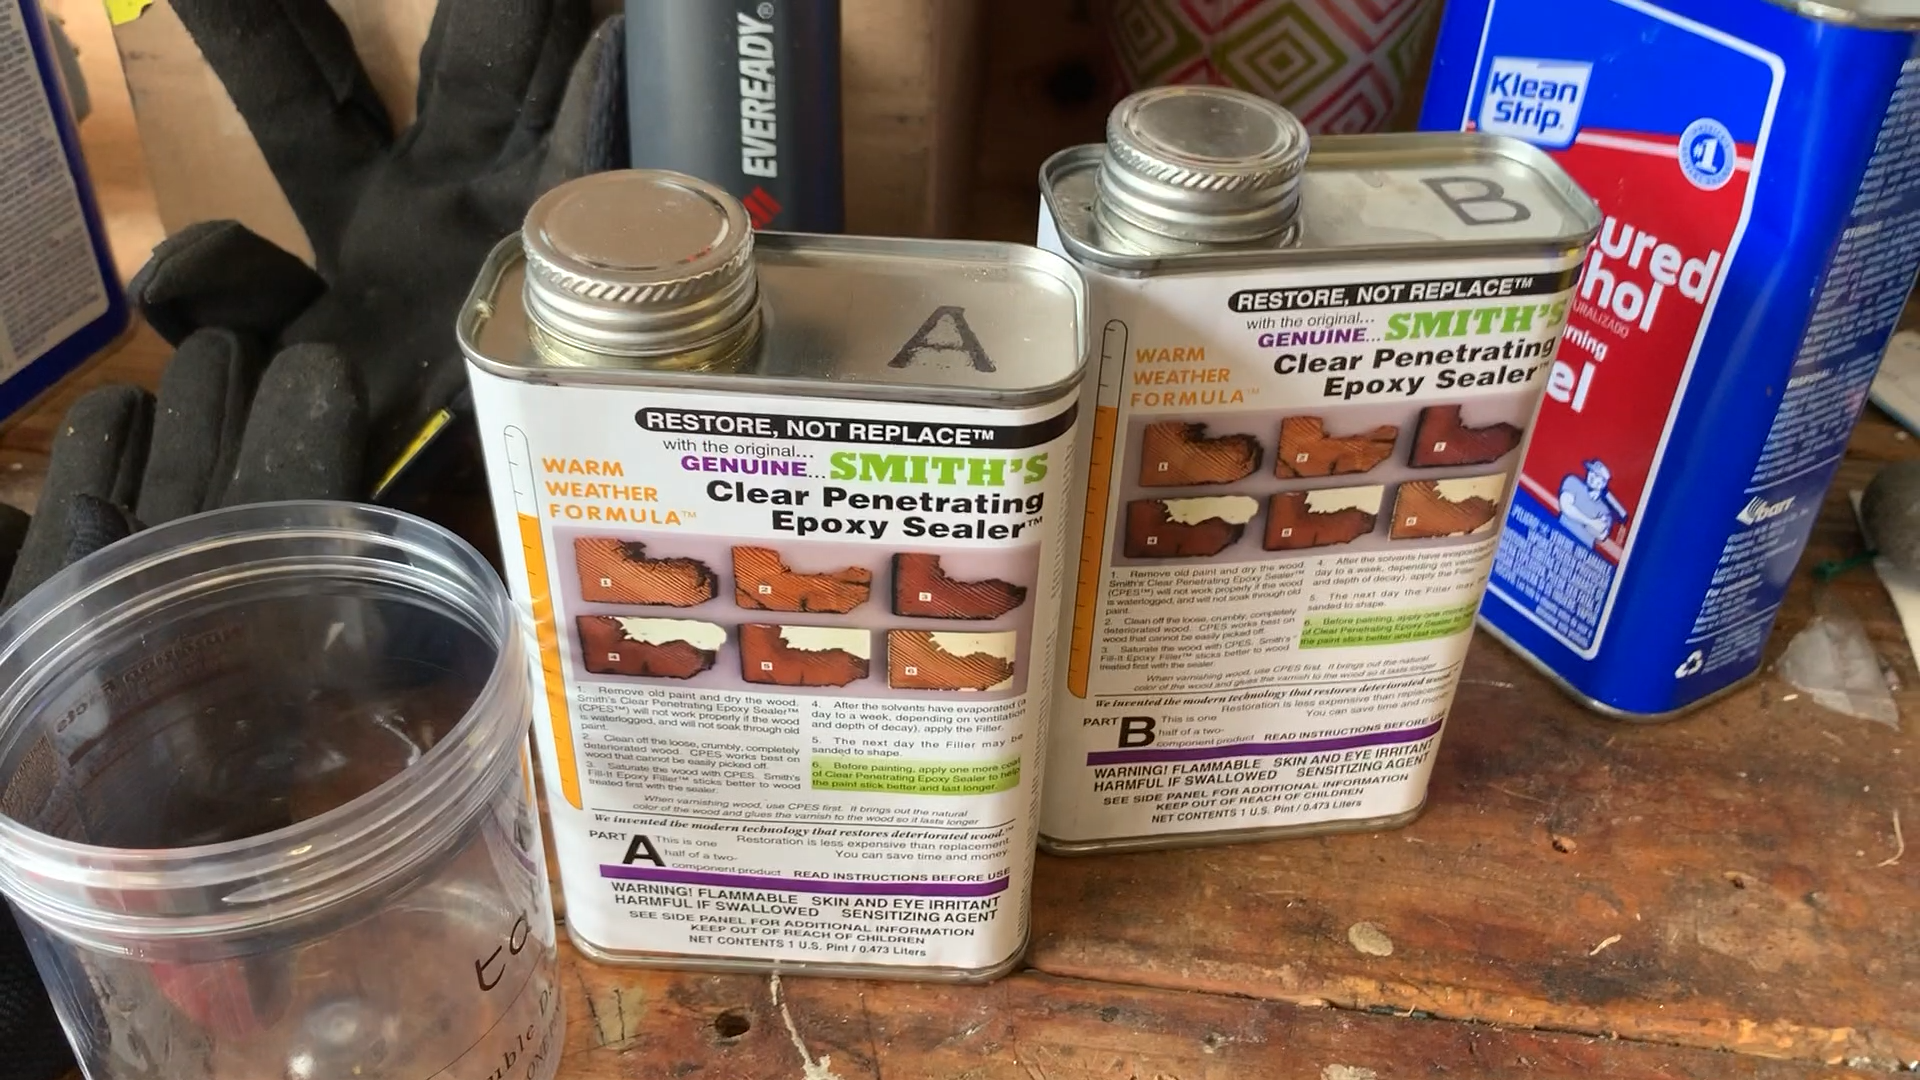
Smith’s is a two-part penetrating sealer that you mix together and apply within an hour of mixing. It is very volatile and the epoxy resin soaks deep into the affected wood. Once dried it solidifies and re-builds the strength of the wood. They also state that the product kills the fungus that is called “dry rot.” I was sure to wear a respirator during this procedure.

After the Smith’s sealer dried completely it was time to add new blocking for the tail and marker lights and to reinforce the existing framing with new lumber.

I used a bench-mounted chop-saw to carefully cut 1 x 2 and 2 x 2 pine stock to a snug fit and fastened with Torx-headed deck screws. The Torx head made this job much easier.

Each taillight and marker light was re-attached and tested before the walls were closed.
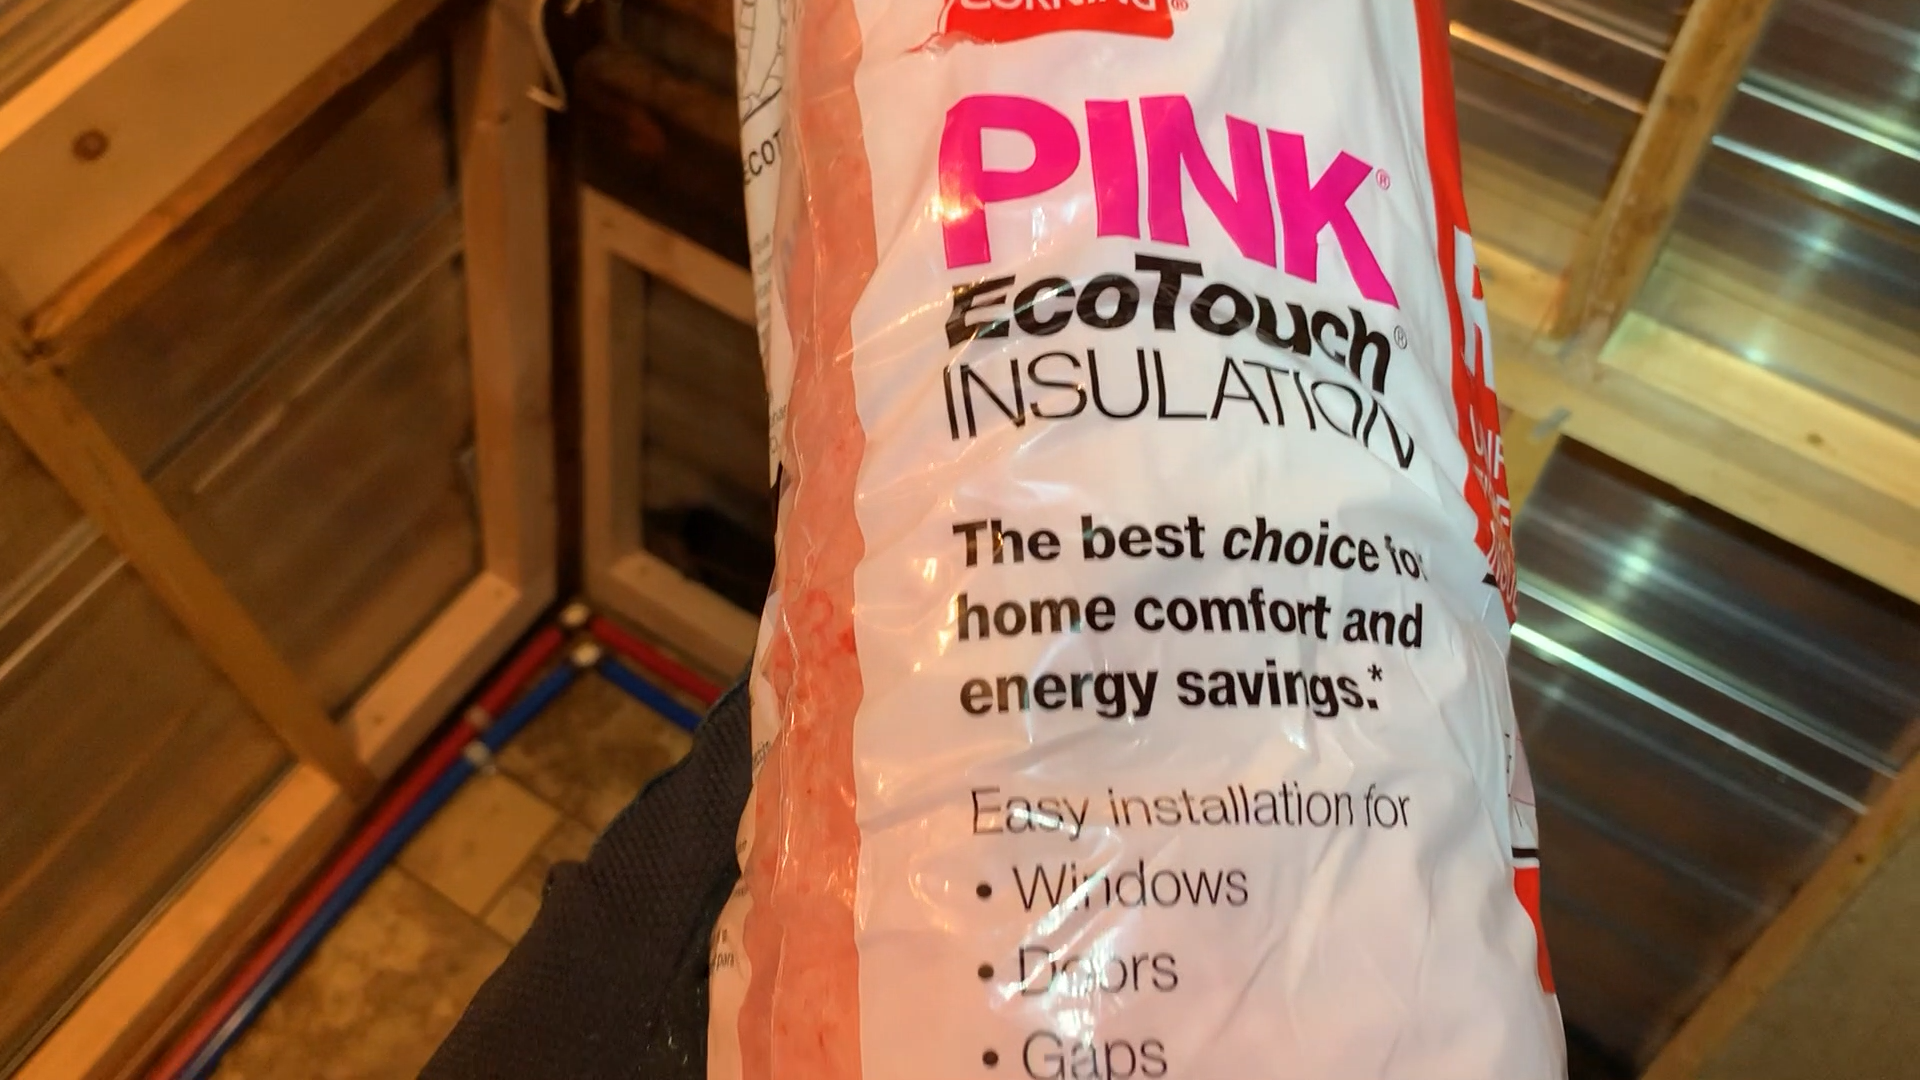
A few bags of “project” insulation made it easy to handle the small size of the job. They were a bit pricey but were easy to manage and came in 2″ thickness which was perfect for the trailer.

The insulation installed easily and I was careful to ensure the wiring remained in the middle of the wall void by slicing small channels into the fiberglass.

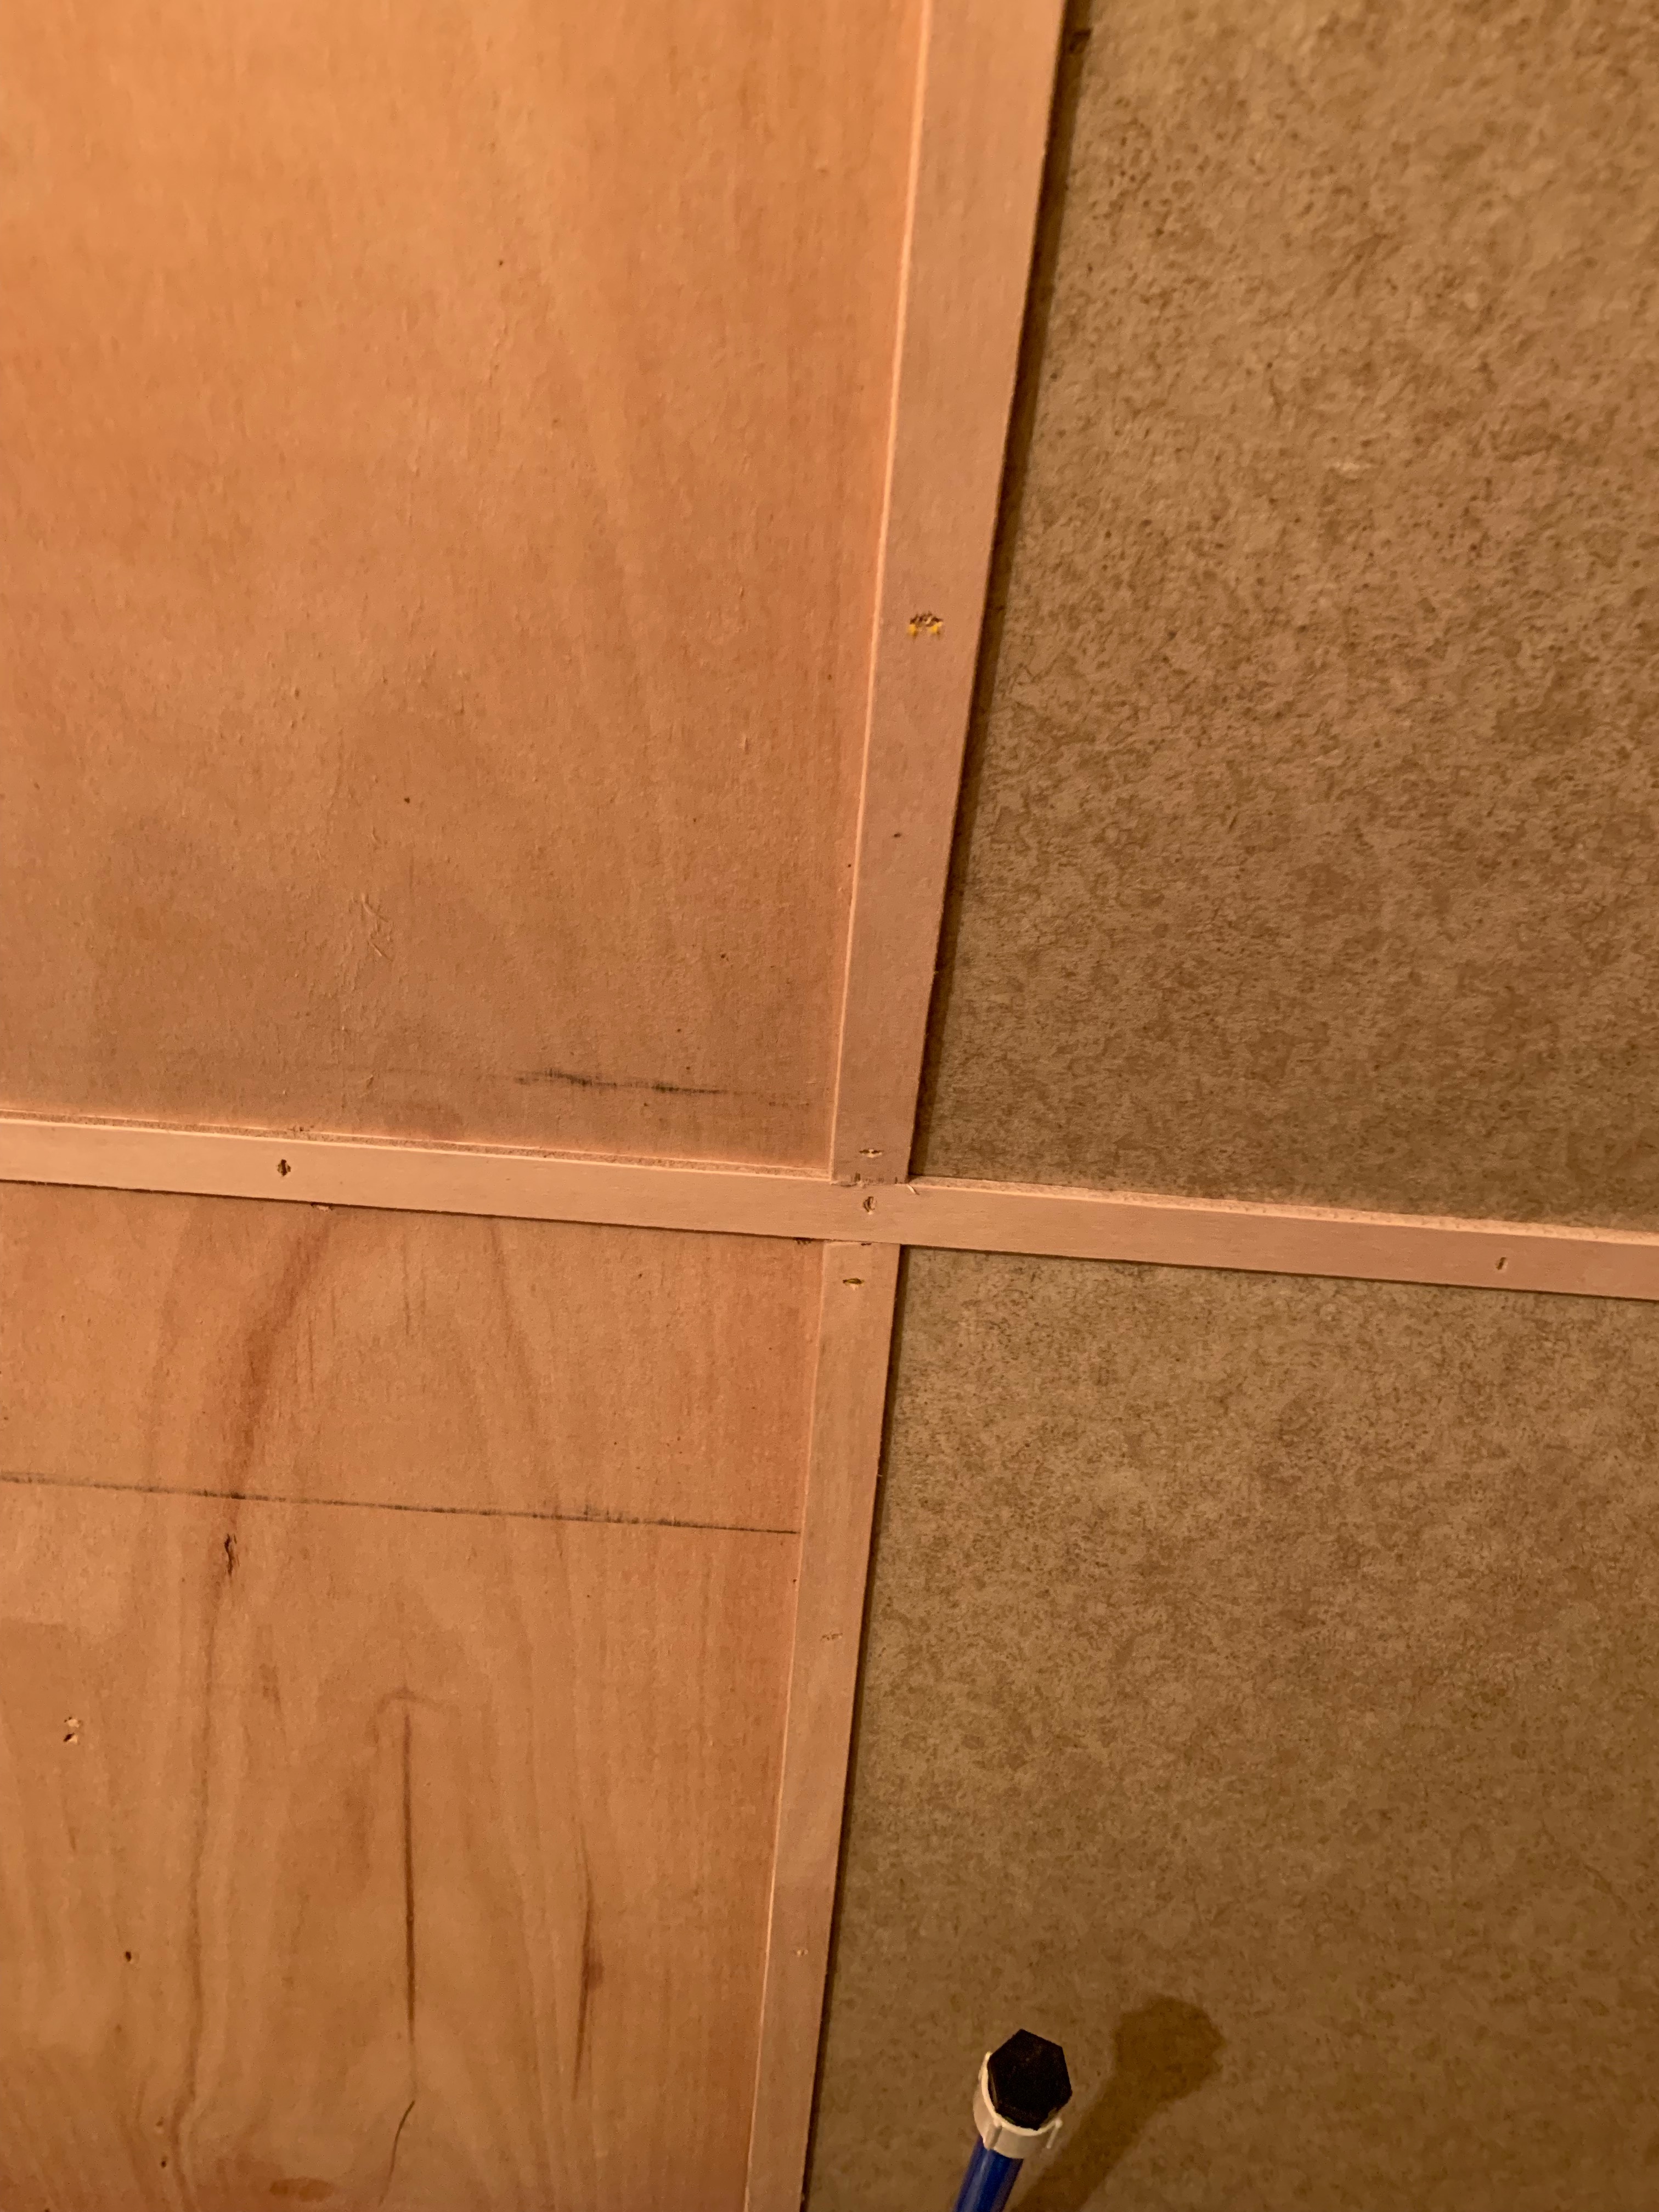
I carefully measured the wall sections and transferred the measurements to a 4 x 8 sheet of 3/16″-thick Lauan.

I made a simple straight-cut jig with a new piece of high-quality plywood. The factory edge of this sheet is guaranteed straight and made it a breeze to cut the panels.

The panels fit amazingly well with no need for re-adjustment. I applied wood glue to the framing and was careful to mark the stud locations with tape at the top and bottom. The panels were attached with an air-powered stapler. Note the hole for the new bathroom light switch so the kids can use the potty at night without jumping up on the toilet to operate the ceiling light.
The straight-cut jig made it easy to cut some 1″ strips of Lauan for the molding strips that cover the seams between wall panels.

Some leftover drywall patch compound was useful in hiding the staple indentations in the paneling.

And here’s the finished product. Three good coats of Behr semigloss were applied to make sure the new bathroom finish remains solid and protected from condensation. This seemed easier than attempting to locate and apply the existing wall paper. The new bathroom is much lighter and now we’d like to paint the whole trailer a lighter color.
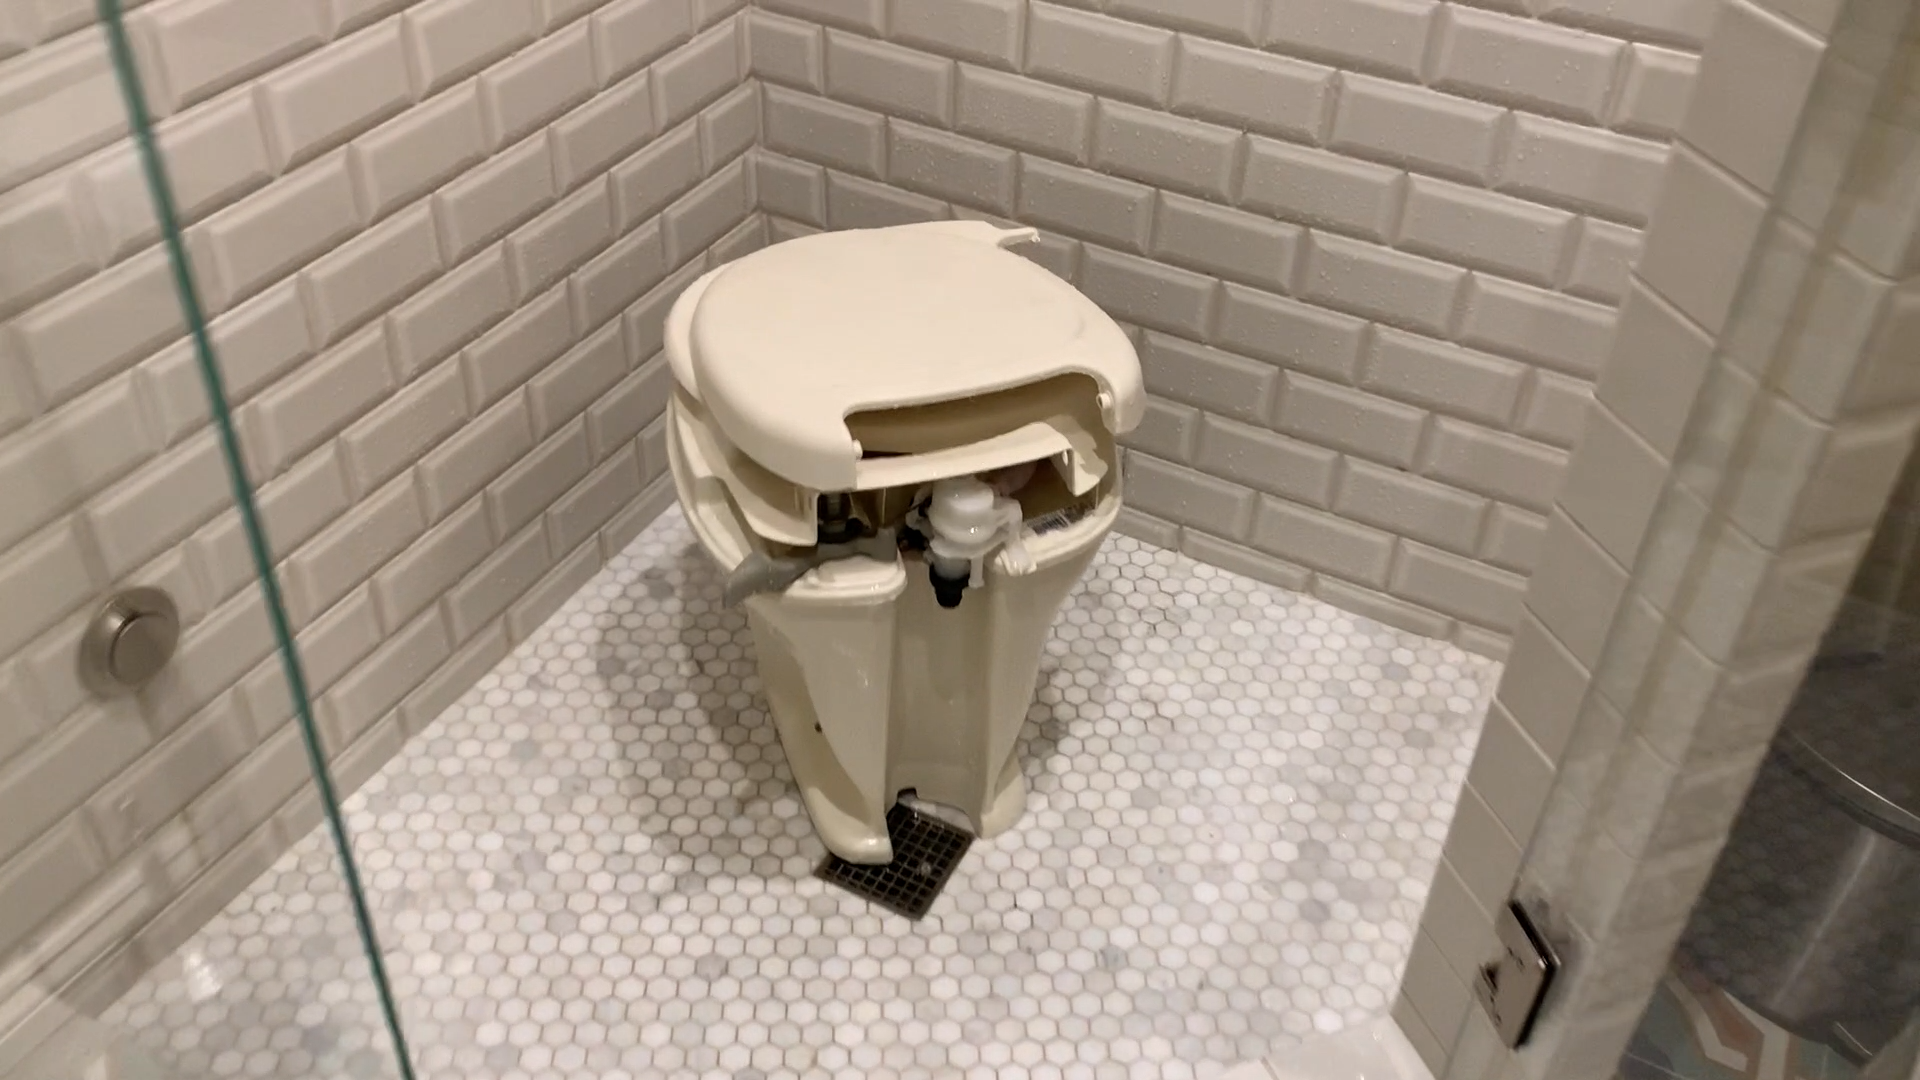
Since the toilet was removed it made sense to scrub it inside and out..

Here’s a glimpse of the finished bathroom with fixtures and the new light switch.
Coming up next: How did we get here? We’ll talk about how this leak happened in the first place and how to prevent it from ever happening again.
